How To Build A Heated Dog House?
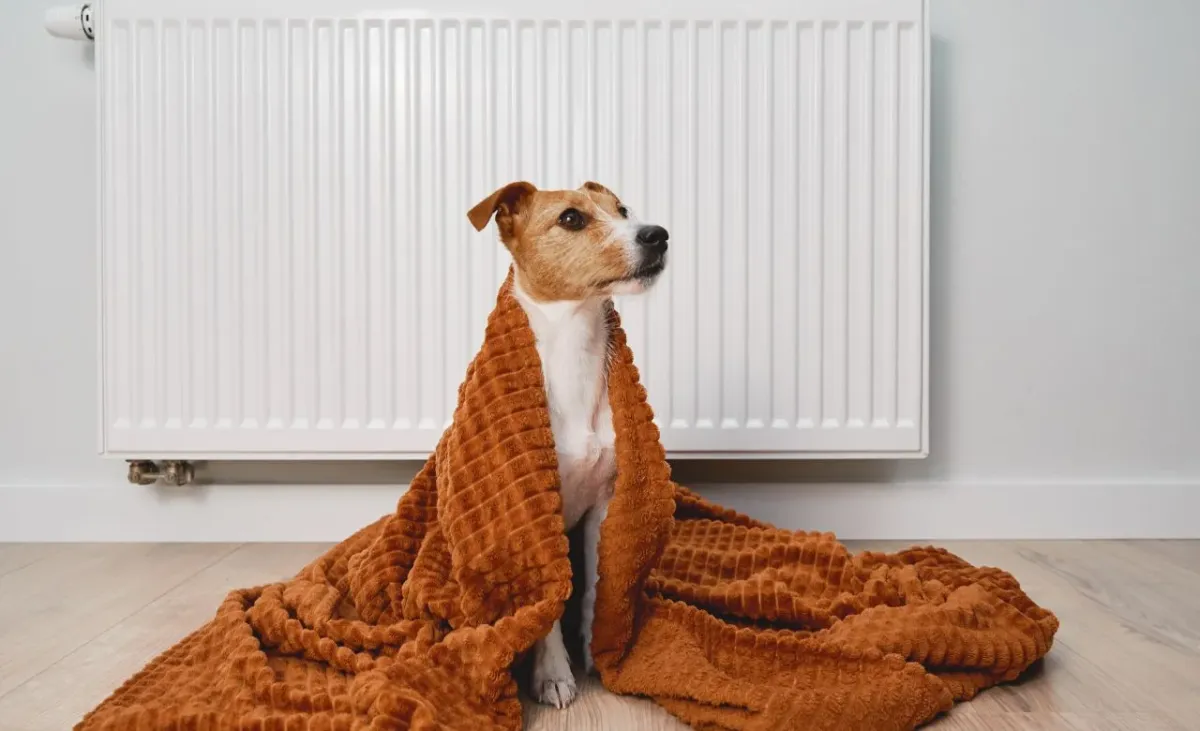
Discover how to build a heated dog house for winter warmth. Follow our DIY guide for creating a cozy and comfortable space for your pet.
Creating a customized DIY dog house tailored to your furry friend's needs offers a sense of accomplishment and ensures your dog enjoys the comforts of home even when outdoors. So, how to build a heated dog house? A heated dog house provides warmth, protection, comfort, and privacy, making it an ideal retreat for your pup. I'll walk you through the step-by-step process of building a heated house to meet your dog's needs.
Know Your Dog's Needs
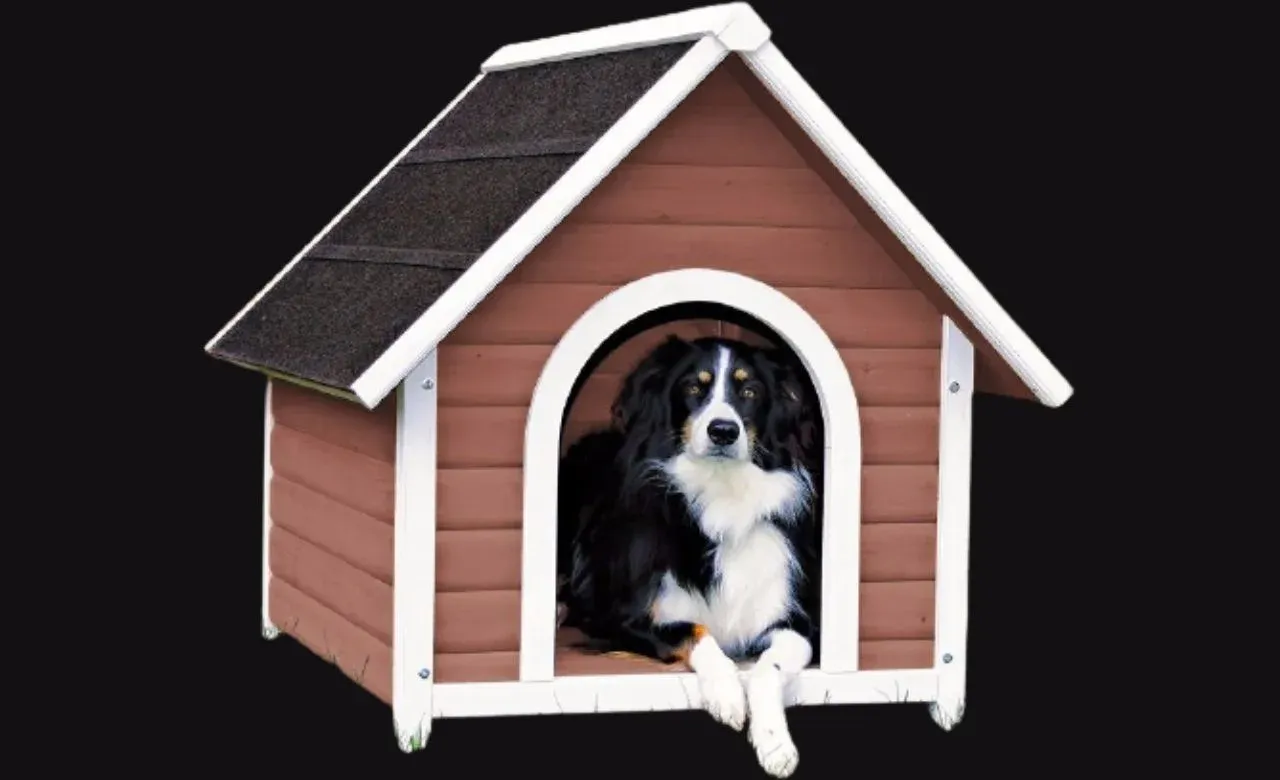
A dog house is a safe and comfortable haven for your pet to rest outdoors. Building a well-designed dog house becomes crucial if your dog spends a substantial amount of time outside. Each dog has unique needs, and the house should be constructed to cater to those specific requirements.
How to Build a Heated Dog House | Step by Step
So, how to build a heated dog house? Consider the breed, size, and habits of your dog when planning the dimensions and features of the dog house. For instance, a larger breed might require a more spacious interior, while a smaller dog may benefit from added insulation. Additionally, consider the climate in your area to ensure the dog house provides adequate protection against cold and hot weather.
Step 1: Size the Parts
The initial step involves determining the size of your dog house based on your dog's dimensions. According to the American Humane Society guidelines, the height of the doghouse should be the dog's height plus 9 inches, the length should be the dog's length plus 18 inches, and the width should be the dog's length plus 12 inches.
Take the time to measure your dog accurately, considering their height, length from nose to tail, and overall width. These measurements will be the foundation for constructing a dog house that provides ample space for your furry friend to move comfortably and relax.
Step 2: Build the Dog House Base
With the dimensions determined, move on to constructing the base of the dog house. Cut the base parts from pressure-treated 2x4s, ensuring they match the calculated dimensions. By butt-joining the ends and securing the joints with weather-resistant screws, you create a sturdy and reliable foundation.
To complete the base, cut a floor panel from 3/4"-plywood and secure it to the base with weather-resistant screws. This step adds stability to the structure and provides a solid surface for your dog to rest comfortably. The use of weather-resistant materials ensures durability against outdoor elements.
Step 3: Angle the Sides
Incorporate angled sides for the roof to keep your pup dry and enhance the dog house's overall aesthetics. Begin by temporarily attaching the side pieces with double-sided tape.
Then, clamp a straightedge at the desired angle and cut with a circular or saber saw. By securing each side to the base with weather-resistant screws, you ensure a snug fit and effective protection against rain and snow.
Step 4: Add the Corner Braces
Creating a sturdy, weather-tight structure is vital for your pet's comfort and safety. Install corner braces to prevent the dog house from racking and eliminate drafts. Each brace consists of two strips of plywood screwed together, adding both strength and insulation to the structure. Attach these braces to the sides, back, and front panels using weather-resistant screws.
Step 5: Install the Partition Wall
The partition wall serves multiple functions in your pet's new home. It keeps out the weather, provides privacy, and creates a smaller space for your pup's body heat to keep them warm. Secure the partition to the base and install a plywood panel angled to match the sides, ensuring a snug and comfortable space for your furry friend.
Step 6: Insulate the Walls
To enhance the dog house's ability to regulate temperature:
- Install rigid foam insulation in the wall cavities.
- Opt for either 1-1/2"-thick foam or glue up layers of 1" and 1/2" foam, cutting them to fit precisely.
- Cover the insulation with 1/4"-plywood to protect it from any curious nibbling by your pup.
This insulation ensures your pet stays warm during winter and cool during summer.
Step 7: Cut the Door Opening
Before attaching the front panel, mark the door opening based on your pup's dimensions. Consider having your dog stand in front of it and make a mark a couple of inches above their back.
Make the width of the opening your pup's width plus 3". Center the opening and cut it out with a saber saw. Secure the front to the corner braces and smooth the opening, creating a convenient and well-fitted entrance for your dog.
Step 8: Add the Roof
Constructing a suitable roof is crucial for protecting your dog from the elements. Cut the roof slightly oversize to aid in rain runoff, securing it at the back edge with a weather-resistant piano hinge.
This hinge allows for easy cleaning of the dog house. Cover the roof with tar paper and install a metal drip edge around the perimeter to remove rainwater and protect against moisture.
Step 9: Install the Shingles
For waterproofing the roof, use asphalt shingles. Begin at the bottom, overlapping each row and working to the top. Choose nails that are short enough to avoid poking through the roof, ensuring the safety of your pet. Additionally, apply a bead of roofing cement to the top edge to seal out moisture effectively.
With the right materials, careful construction, and attention to detail, you can create a warm haven for your dog that offers peace of mind and comfort for you and your beloved pet. A heated dog house becomes a sanctuary where your pup can retreat, providing security and warmth regardless of outside weather.
By investing time and effort into building this personalized space, you enhance your dog's quality of life and strengthen the bond between you and your loyal companion. Now you know the answer - how to build a heated dog house?
Final Words
Building a heated dog house provides your pet with a comfortable and safe space, ensuring they remain cozy in various weather conditions. Understanding your dog's dimensions and specific needs is crucial in creating a customized shelter.
Following these step-by-step instructions allows you to construct a well-insulated, heated dog house that prioritizes your furry friend's well-being. I hope now you know, how to build a heated dog house?
Looking for the Best Outdoor Heated Dog House During Winter Season? Check our picks below and buy one today👇
 Lucy Anderson